Category: Home
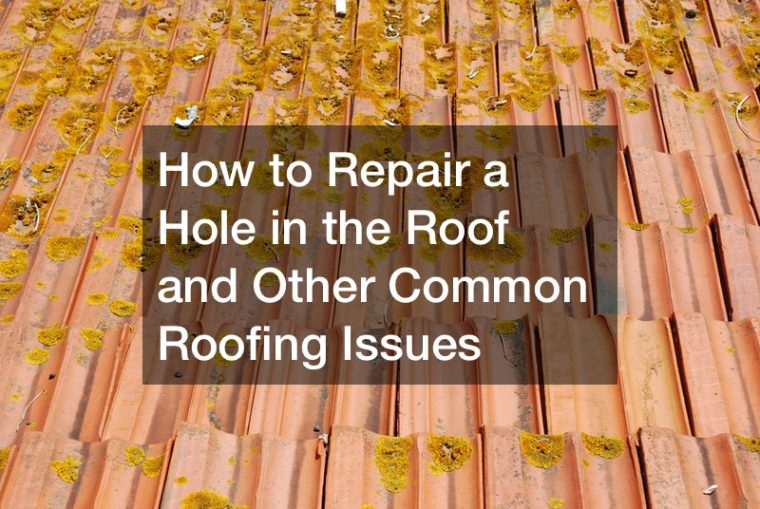
Holes and leaks in your roof can become significant problems if not addressed quickly. Water stains on the walls and ceilings are an indicator of a leak. While repairing the leak is often easy, the finding is not always so simple. Check out these tips on fixing roof problems before they become more significant and lead to mold, structural damage, or ceiling damage. Needed Materials There could be many reasons why you need to repair your own roof. Trees may fall on your roof, wood can rot over time, or small animals have made a larger hole from a small crack. Some roof repairs are minor, and you can fix them yourself without needing a roofing contractor. If you want to address your own roof problems, you may need some tools and materials. If you plan to handle the repairs yourself, you should have a basic understanding of these tools and materials. These items include but are not limited to a ladder, pry bar, measuring tape, hammer, and roofing nails. Those items you are most likely to have. There are some other items you might need that you do not have. These include a plywood sheet, 2×4 plank, reciprocating saw, heavy-duty electric drill, roofing tar, tar paper, and deck screws. Small Holes When there are small holes in the shingles, that may not seem like a significant problem because of their size. Unfortunately, they are more dangerous than they appear. These tiny holes can cause rotting, leaks, and other damages long before you see any signs. These tiny holes can occur from just about anything, such as mounting brackets for an antenna. When a roofing nail is exposed or misplaced, it can cause a hole. Typically, you fix all holes with flashing. In extremely rare cases of incredibly small gaps, you can fill the hole with caulk when flashing is not an option. Typically, caulk or roof cement are not ideal options for leaks. They will not last long term. The best option is always a mechanical roof fix, repairing, or replacing the flashing. Flashing Problems Flashing is what is used along all the walls that intersect the roof. There are short sections of flashing that channel water over the shingle below it. However, the flashing can rust or come loose. Water runs behind the flashing and goes right into your house when this happens. If the flashing is rusted, it needs a replacement. Replacing the flashing is relatively simple. You removed the shingles, pried loose the siding, and removed the step flashing. However, sometimes you find that a piece of flashing was missed and not nailed in place. The result is the flashing slips, and the wall is exposed. This flashing needs to be fixed. Walls And Dormers The shingles on your roof are not the only place for water to come into the house. Rain driven by the wind comes in above the roof, typically around the window, the area between the siding and the corner board, and any cracks or holes in the siding. The dormer walls provide ample space where water can drip down and get in through the roof. You do not need a roofing service to check them. If there are areas where caulk is old, cracked, or missing between the corner boards, window edges, and siding, this is a space for water. Water can get into those cracks, move behind the flashing, and go right into the house. Even when the caulk appears as though it is in good shape, it may not create a seal for the two surfaces. You should use a putty knife to dig into the space and determine if it is sealed. Dig it out if you think the caulk is old, cracked, or not sealing. You want to replace it with high-quality caulk. While you are here, you want to check the siding above the step flashing. If there is any that is rotted, cracked, or missing, you should replace it. You also want to ensure that the piece you install overlaps the flashing by a minimum of two inches. If that does not fix the leak problem, you should pull the corner boards away and check the overlapping flashing in the corners. You often find old and hardened caulk where the two pieces overlap at the corner. Roof Vents Roof vents are another area where you can find problems. You should check the plastic roof vents for cracked housing and metal roof vent for broken seams. While you could consider caulking it, that is not the best long-term fix. The best thing you should do is replace the damaged vents. It would be best if you also looked for nails that are missing or have been pilled at the bottom edge. You should replace the nails with rubber wash screws. You can remove the nails from under the shingles on either side of the vent to pull it loose. You will find nails across the top of the vent. You should be able to work the screws loose without having to remove the shingles. You can screw the bottom of it in place with screws and rubber washers. It would be best if you put a bead of caulk underneath the shingles on either side of the vent to hold down the shingles while adding them to the water barrier. This is much easier than renailing shingles. Plumbing Vent Boots There could be problems with your plumbing vent boots, and you will not need a residential roofer to address them. Plumbing vent boots may be plastic, plastic, metal, or two pieces of metal. If the base is plastic, you should look for cracks. If the base is metal, you should check for broken seams. It would be best if you then examined the rubber boot that is around the pipe. This ribber boot can tear or rot, which lets water seep into the house along the edge of the pipe. When you see these problems, you…
Have you thought about completing your landscaping with the perfect doghouse? The landscaping is a big deal and picking out the correct flowers, turf, and other attributes can either make your plans soar. However, there’s another attribute that you may have not thought about lately, and that’s the doghouse. By selecting the right plan for your landscaping, slipping the correct doghouse, for added flair to your plans, as seen in the video, making a doghouse can be simple with a few tools and supplies. Perfect Doghouse Designing the perfect doghouse doesn’t have to be complicated and it can be a fun process with a little planning. The painted colors that you can use for your perfect dollhouse are limitless. Video Source It is easy to blend it in with some simple designs if you have a specific concept in mind for a doghouse, how it should appear, or blend in with your existing landscaping. It’s important to get the measurements right when creating a doghouse, but they don’t have to be precisely perfect all the way around for it to look wonderful in the end. To have a picture-perfect doghouse for your landscaping plans, the only thing you need is a little patience, a little time, and some great ideas. Also, you can look for brilliant Amish dog kennels for sale.
Wooden fence companies are the best option to install a fence. However, there are a lot of things you need to consider before hiring wooden fence companies. Fences may cost $15 to $60 per linear foot installed, or $10 to $35 per linear foot for equipment and $5 to $20 per linear foot for labor, depending on the material. Installation labor expenses may be more in a place where there are a lot of rocks and hills. Video Source There are certain contractors who charge by the minute. Building your own fence saves you money over hiring a professional to do the same thing. Regardless of the option you choose, bear in mind that the final cost depends on the materials and kind of fence you select, as well as the amount of effort you are willing to put in. When you install a fence yourself, you don’t have to pay a contractor for the labor charges. In the long run, this saves money and is one of the main reasons individuals contemplating a DIY. In conclusion, with the assistance of the wooden fence companies, you can easily get the fence installed. However, installing them yourself is a lot cheaper. So, before deciding what to do, think it through.
Roofing repair is not an easy task. If you are thinking of getting one replaced, then make sure to watch this video. It will really help you out. Repairing and maintaining your roof is one of the most important things you can do to your house since it keeps you and your family, as well as everything else, dry and warm. The cost of a new roof is high. Video Source Simple fixes like these may extend the life of your current roof by many decades. In order to prevent water from penetrating under the shingles and damaging the wood sheathing, any evidence of damage or wear must be addressed very once. Ignoring an issue, no matter how tiny it seems to be, might lead to a more expensive reroofing project. Take all necessary safety measures. You must always practice roof safety whenever you are on the roof. Protective glasses, heavy-duty gloves, and adequate footwear for roof-walking are all necessary precautions to be taken. Determine the amount of the damage underneath the shingles and how many replacement shingles you’ll need by locating the damaged region. Temperatures above 90 degrees’ Fahrenheit cause asphalt and asphalt sealant to harden, making it more difficult to remove. To find out more about roofing repairs, watch the full video.
It’s estimated that 11.6 million homes are heated by wooden fireplaces. Fireplaces and chimneys need regular maintenance to keep them working properly and to keep your family safe. Family Handyman YouTube channel describes how you can do a fireplace and chimney inspection. If you have a glass firescreen, look for any defects in the glass. Video Source Make sure they open and close smoothly. Make sure the sparkscreen moves smoothly when you open and close it. Fireplaces should have a grate for the logs to sit on. If you do not have a grate, get one. Check the hearth for cracks, especially in between the bricks, after vacuuming it. Make sure that any carpets, furniture, wooden flooring, or anything else that can catch fire is at least 16 inches away from the fireplace. Next, check the fire box for creosote build-up. If not removed by a chimney sweep, the creosote can cause a fire. The damper door should open easily and close completely. Check the flue for cracks or creosote build-up. Finally, go outside and look up at the chimney to see if any bricks or flashing are missing. You may need to get up on the roof to check and see if the cap is on, and that the chimney is free of debris. Check for black residue between the bricks which indicates that creosote is seeping through. If there are black marks, call a chimney sweep.


Recent Comments